How to Tell If Plaster Is Done Right: Quality Signs Before Painting
 The Fahison Team
Reading time: 6 min

Article Contents
Properly applied plaster has a flat surface with no waves, is firmly bonded to the wall with no hollow sound when tapped, has straight corners and edges, and is free of abnormal cracks and damp before painting starts. The best time to check this is before the putty and paint go on, because every plaster defect disappears under the paint and then reappears after you move in.
In this guide we explain the signs of good plaster, simple tests you can do yourself on site, the most common workmanship mistakes and their causes, and when you need a professional plaster inspection from the Fahison team.
Why Plaster Quality Matters Before Painting
Plaster is the cement and sand layer that covers blockwork and concrete and prepares the wall for putty and paint, or for cladding. Plaster defects don't disappear; they carry through to whatever goes on top:
- A wavy wall shows its waves clearly under side lighting once it is painted.
- A crack covered only with putty comes back within weeks.
- Plaster that has separated from the wall cracks and falls away over time.
- Corners that aren't straight cause problems when fitting cabinets, tiles and gypsum.
Fixing these defects at the plaster stage is much easier and cheaper than breaking out a painted wall and redoing it.
Signs of Properly Applied Plaster
1. A flat surface with no waves
A good wall looks flat when viewed from a side angle, with no bulges, dips or holes.
2. Full bond with the wall
Well-bonded plaster gives a solid sound when lightly tapped. A hollow sound can mean the plaster has separated from the blockwork, known as hollow (debonded) plaster.
3. Straight corners and edges
Corner edges run straight from top to bottom, room corners are square, and the wall itself is not leaning.
4. No abnormal cracks
Fine surface hairline cracks can appear from drying, but diagonal, wide or repeated cracks where blockwork meets columns and beams need an engineering assessment to find the cause.
5. A dry wall with no salts
There are no damp patches or white salt deposits (efflorescence) on the surface before putty and paint begin.
6. A clean finish around openings and services
Door and window edges are straight, and electrical boxes and pipes sit flush with the wall rather than sticking out.
How to Check Plaster Yourself: 4 Simple Tests
These are initial checks to help you spot obvious problems. They don't replace an engineering inspection with proper tools:
- Side-light test: in a dim room, shine your phone torch parallel to the wall. Waves will show up as shadows.
- Tap test: lightly tap the wall in several places and listen for any hollow sound that differs from the rest of the wall.
- Look at the corners from a distance: stand back from a corner and check that its edge looks like a straight line.
- Check the junctions: look where blockwork meets columns and beams, and above service chases. These are the areas most prone to cracking.
Common Plastering Mistakes and Their Causes
- Missing mesh at joints: caused by oversight or cutting back on materials, it leads to long cracks that keep returning however many times the wall is repainted.
- Weak or missing spatter dash coat: caused by rushed work or a weak mix, it leads to the plaster separating from the blockwork.
- No water curing: letting the plaster dry too fast, especially on walls exposed to sun and wind, causes hairline cracks under the paint.
- Wrong thickness: not following the level guides, so thick layers crack and thin ones are weak.
- Protruding services: pipes and boxes not fixed at the right level, leaving the plaster over them thin and prone to cracking.
When to Inspect Plaster: The 3 Stages
Each plaster stage has its own typical mistakes, and some can't be detected once the next layer covers them. That is why plaster is inspected in 3 stages, and you can book each inspection on its own:
- Preparation before plastering: after blockwork and services are finished and before plastering starts, to check the mesh, spatter dash, surface cleanliness and level guides.
- After application, before it dries: while the plaster is still soft, thickness and flatness can be corrected easily without breaking anything, and water curing can be checked.
- Final inspection before painting: after drying and before putty, the last chance to find waves, hollow spots, cracks and damp.
If you are dealing with the plastering contractor directly, we can meet them on site before work starts to agree acceptance standards and working methods, through our pre-planning with subcontractors service.
What Fahison's Plaster Inspection Gives You
- More than 80 inspection items across the three stages.
- Each inspection takes 3 to 5 hours and doesn't need electricity on site.
- Measuring tools such as a spirit level, laser level, moisture meter and thermal camera.
- A detailed photo report setting out the observations and how to fix them.
- Prices start from AED 700 per inspection, in Abu Dhabi and across the UAE.
You'll find the details of each stage and its common problems on the plaster inspection page.
Before and After Plaster
Plaster quality depends on what is underneath it and what goes on top, so we recommend pairing it with the related inspections:
- Blockwork inspection before plastering, because a leaning wall or blockwork not tied to the columns shows up in the plaster.
- Paint and putty inspection after plastering, to check the final finish.
- Gypsum suspended ceiling inspection during the same finishing stage.
- For full coverage from foundations to finishing: construction stage inspection.
Plaster Inspection FAQs
Q: Is every crack in plaster serious?
A: No. Most hairline cracks are superficial and caused by drying, but diagonal, wide or repeated cracks at joints need an engineering assessment to find the cause before repair.
Q: What is hollow plaster?
A: It is when the plaster layer separates from the wall, recognised by a hollow sound when tapped. Causes include a weak spatter dash coat or an unclean surface at the time of application, and it can lead to cracking and pieces falling away over time.
Q: When should I book a plaster inspection?
A: Ideally, book all three inspections at the right time: before plastering, after application and before it dries, then before putty and paint. If you book only one, book it before the painter starts the putty.
Q: Can I book just one stage?
A: Yes. Each of the three inspections is a separate service you can book on its own.
Q: How long does a plaster inspection take, and does it need electricity?
A: The inspection takes 3 to 5 hours and doesn't need electricity on site.
Q: How much does a plaster inspection cost?
A: Prices start from AED 700 per inspection.
Book a Plaster Inspection Before Painting
Has your plastering finished? Book the inspection before the painter starts, and we'll arrange a visit time with you. Book a plaster inspection on WhatsApp, or see the plaster inspection details and stages.
Related Articles
-
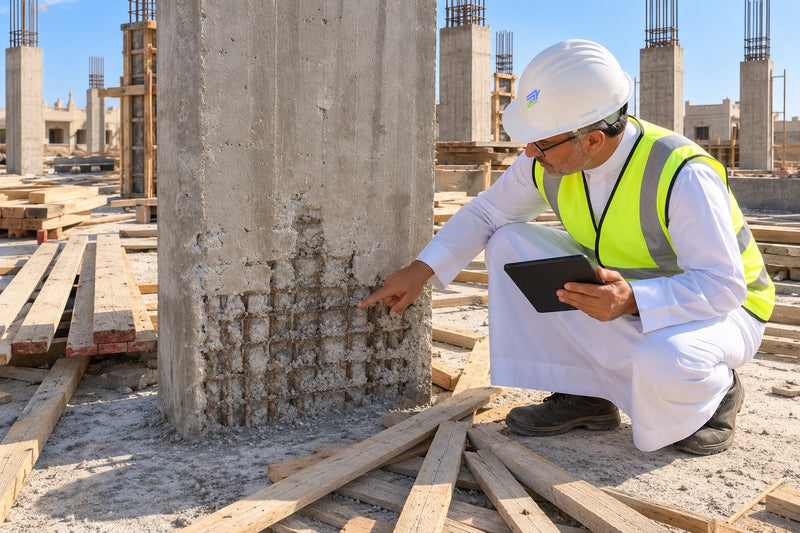
Honeycombing and Spalling in Concrete: the Difference, the Causes, and When They Are Serious
The difference between honeycombing and spalling in your villa's concrete, the causes of each, the signs, when it is serious, and how to catch it in time.
Read Article -
How Do You Know the Consultant Is Supervising Your Home Properly? Signs of Good and Weak Supervision
The signs of a consultant who supervises your home's construction properly, the signs of weak supervision, questions to ask before signing, and how to evaluate them on their current sites.
Read Article -

Villa Construction Inspection: 8 Stages You Shouldn't Leave Unchecked
The eight stages of building a villa, what is inspected at each stage, and when to book the inspection before the contractor covers the work.
Read Article
